-40%
Dixietan Paste - Home Fur Tanning Solution
$ 7.89
- Description
- Size Guide
Description
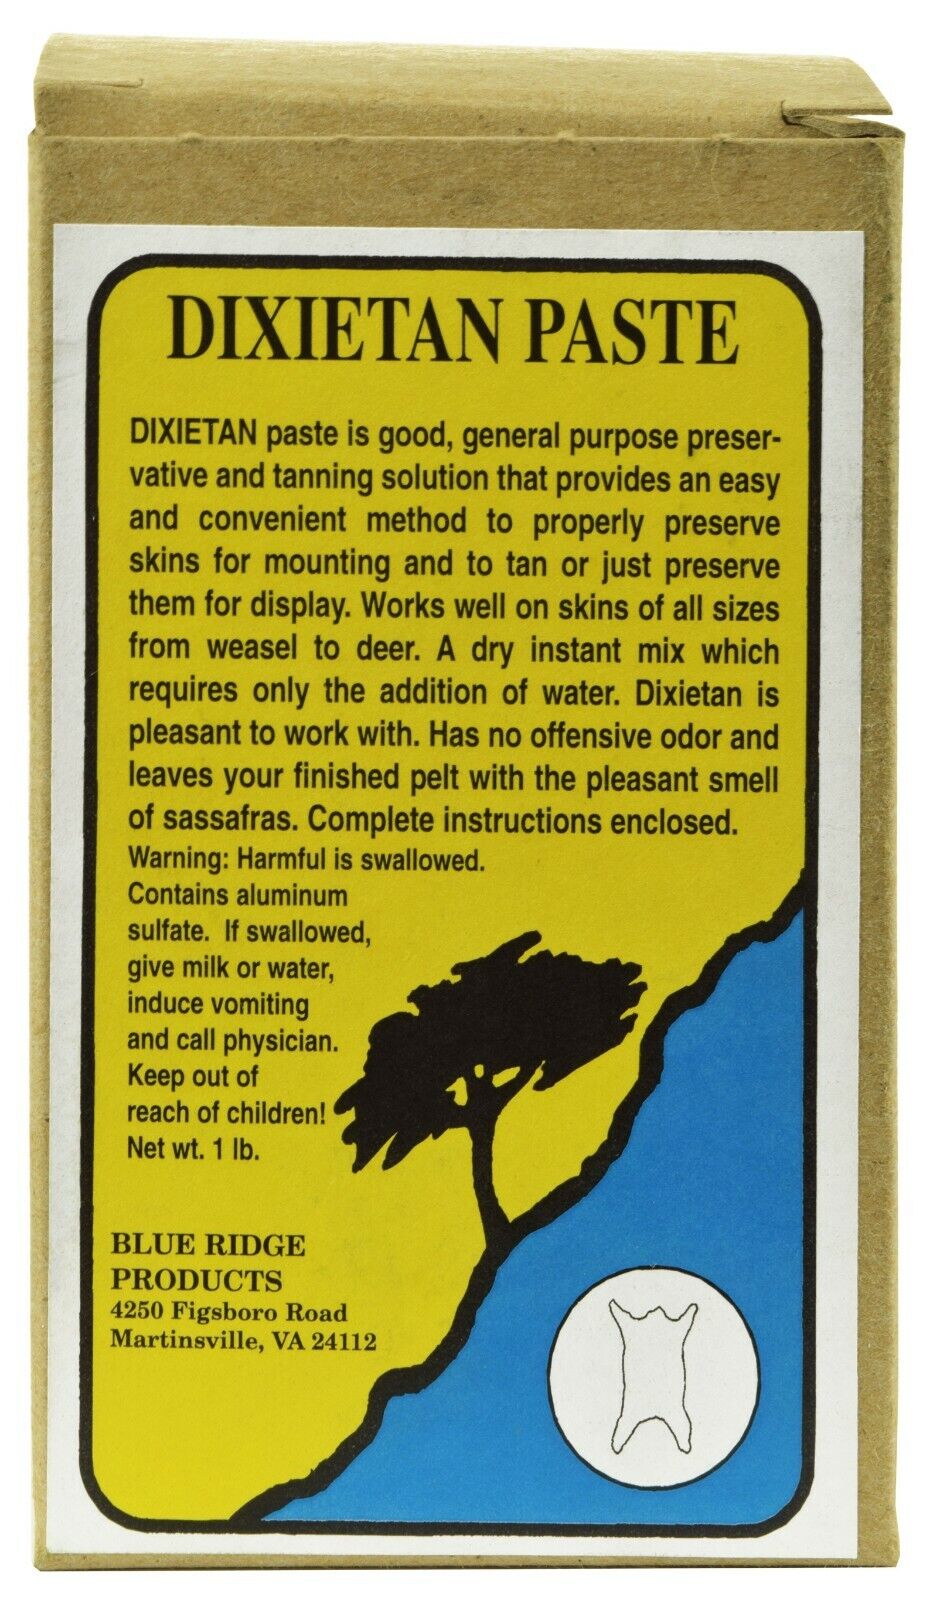
Dixietan Paste is a good general purpose preservative and tanning solution. Easy and convenient method to properly tan hides. Box has complete instructions enclosed. Works well on all sizes of skins. Comes in a dry instant mix which requires only the addition of water. This is not a cheap salt-alum mix, leaves your finished pelt with a pleasant sassafrass smell. 1 lb. box.Dixietan Paste is good, general purpose preservative and tanning solution that provides an easy and convenient method to properly preserve skins for mounting and to tan or just preserve them for display.
Works well on skins of all sizes from weasel to deer.
A dry instant mix which requires only the addition of water.
Dixietan is pleasant to work with.
Has no offensive odor and leaves your finished pelt with the pleasant smell of sassafras.
INSTRUCTIONS FOR USING DIXIETAN PASTE
MIXING INSTRUCTIONS:
To hot water, stir in enough of the powder to make a thin paste.
The finished paste will be about two-thirds water.
It may be used immediately or stored indefinitely for future use.
If stored, do not fill the container over half full, as it may rise and run over.
Also, do not place the lid on the container tightly for a few days and do not store in unlined metal containers.
1.
Dixietan paste is a good general-purpose preservative and tanning solution that provides an easy and convenient method to properly preserve skins for mounting and to tan or just preserve them for display.
Although it works well on skins of all sizes, it will be better for the beginner to practice on a smaller skin before attempting a large skin such as a deer hide.
2.
First of all, the skin to be tanned should be cleaned of all fat and flesh.
Fresh skins should then be salted down (ordinary table salt) for a day or so.
Spread the skin out and apply the salt liberally to the flesh side.
Shave the lip and nose skin thin with a sharp knife and apply plenty of salt to this area.
Then scrape off the tough membrane that adheres tightly to the skin.
If the skin is to be tanned, all of this membrane must be removed or the skin will turn out hard and stiff.
3.
After this is done, shake off the excess salt, spread the skin flesh side up and spread on an even layer of the paste (1/8 – ¼” thick).
Then fold the skin over to prevent drying.
Leave this on for 24 hours, scrape off and spread on another layer.
Two applications will be enough for thin skins.
Leave this last coating on for 2-4 days, depending on skin thickness.
On thicker skins, apply a third layer after the second one has been on for 24 hours.
The skin must be in a cool, dry place.
In extremely hot and humid weather, it may be necessary to place the skin under refrigeration during this process.
4.
Scrape paste off and wash in warm, soapy water.
Then clean, soak for 30 minutes to 1 hour in warm water with 1 ounce of Borax per gallon of water.
Squeeze out as much water as you can, stretch the skin out flat and work in a thin soap paste. (Ordinary soft hand soap plus water).
After this has soaked in, rub in neatsfoot oil, olive oil or castor oil.
A small amount of glycerin will help make the skin soft.
NOTE:
For skins to be mounted, this is the last step.
You are now ready to place the skin on the form or it can be frozen in a plastic bag at this point.
5.
For skins to be tanned leave the skin in a cool place out of the sum until it begins to dry.
The next step is one of the most important of the whole process.
The skin must be pulled and stretched
WHILE IT IS DRYING
not after it is dry.
Just take the skin in your hands and work and pull it in all directions.
As it begins to dry, you will notice the skin turning white as it is stretched.
If you should let it dry hard, simply soak in water and start the drying process over.
6.
Continue tow work the skin several times daily until completely dry and soft.
After it is dry, you may work the flesh side with sandpaper, further softening it.
7.
The final step is to clean the fur by rubbing in fine dry sawdust to absorb the excess oil.
After leaving it in the fur for a sufficient time, hang the skin up and beat it with switches to remove the sawdust.
8.
Skins that are stiff and dry should be soaked in 2 or 3 changes of plain water until soft before tanning.
Examine them often; too much soaking may promote hair loss.
Then scrape and pull on the skin until it is limp and pliable.
The membrane on the surface of dried skins must be broken up and removed before tanning.
An ordinary drawknife works fine for this or you can file dull saw teeth in an old butcher knife or similar knife.
In short, the skin must not have hard or stiff parts
anywhere
before beginning the tanning operation.
9.
If the skin is very fat and greasy, the grease must be worked out of it.
This is best done by laying the skin over a rounded wooden beam and working with the aforementioned tools.
For very thick skins, you must use this same process to shave them down thin.
A thick skin will not be soft when tanned.
10.
It may be added that fresh skins are the easiest to work with.
If you skin an animal and do not want to tan it right away, it is best to place the skin in a plastic bag and freeze it.
When it is removed, it will be in fresh condition.


